Streamline Your Workflow with the Contentful to Figma Plugin
January 03, 2023
Introducing the Contentful to Figma Plugin
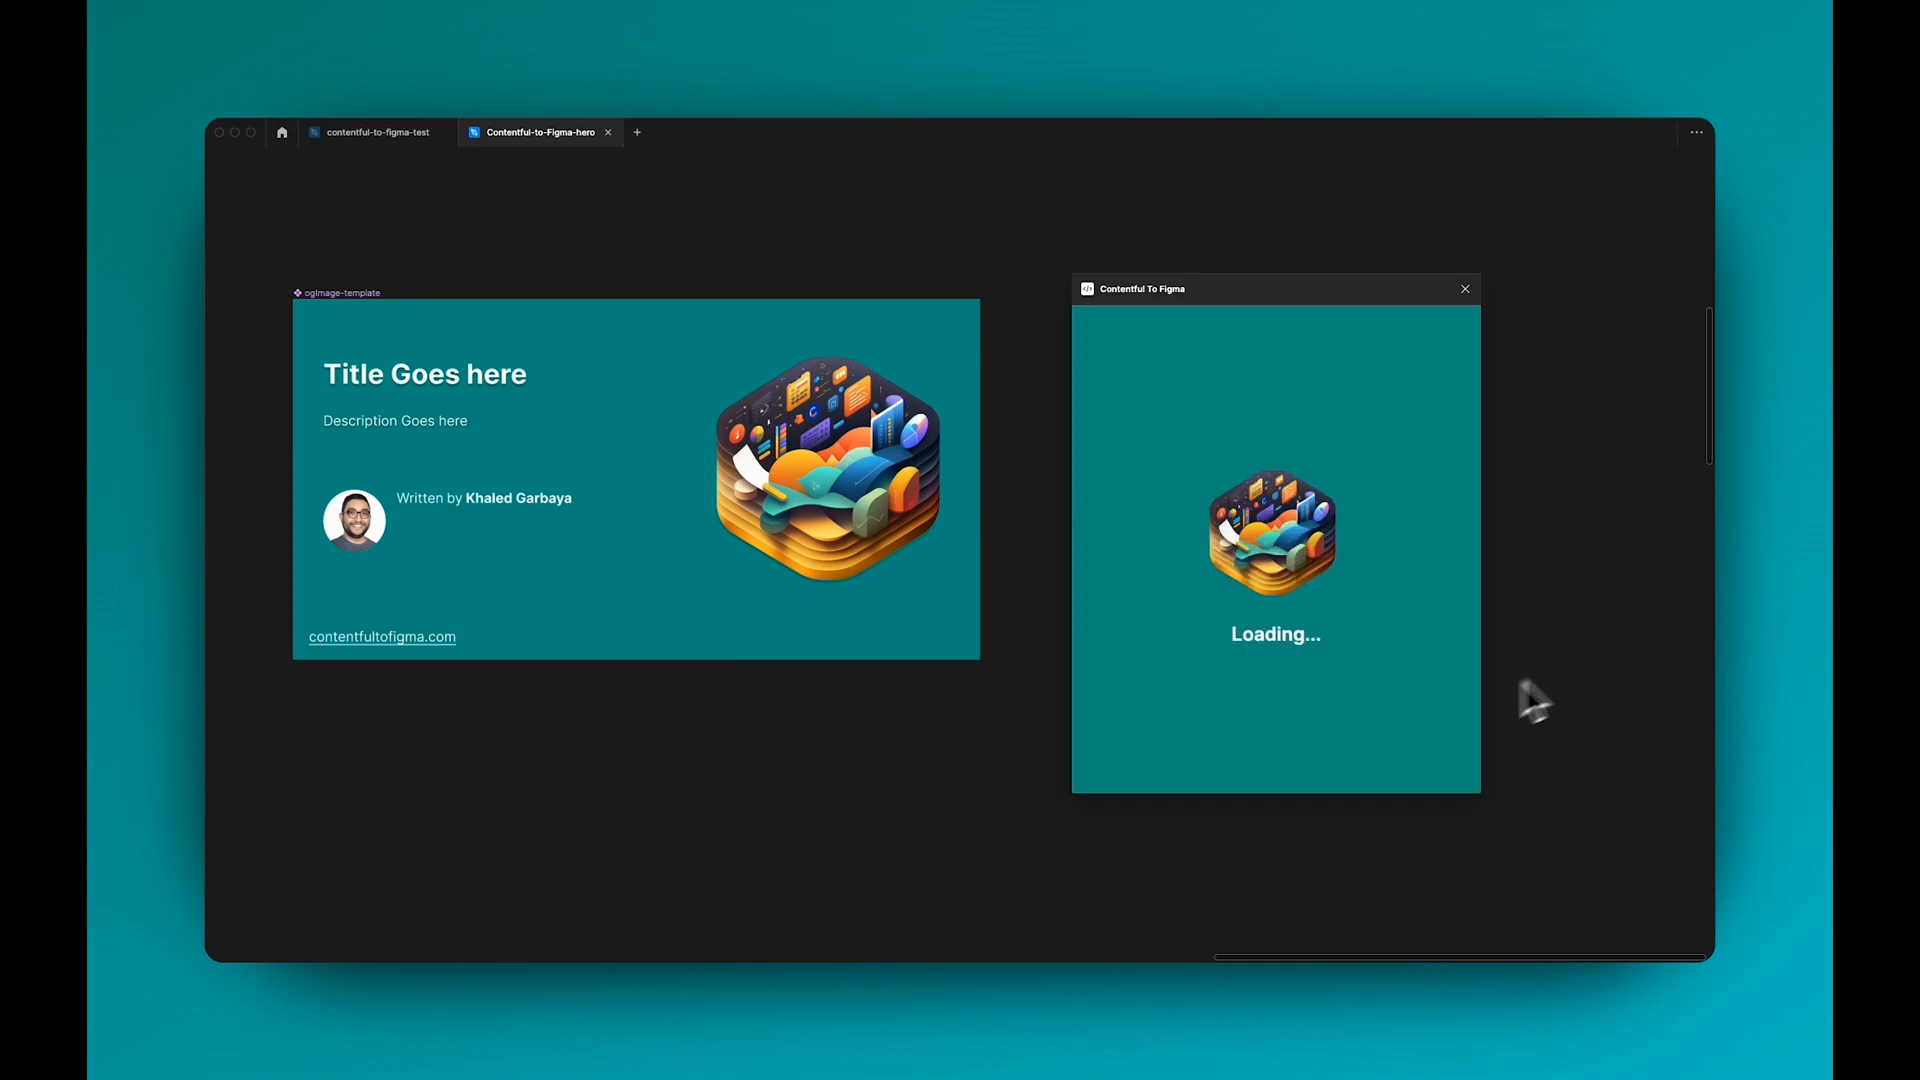 In this blog post, we'll discuss the new Contentful to Figma plugin and walk you through its setup and usage. This plugin allows you to seamlessly sync data from your Contentful CMS with your Figma designs. It's perfect for generating Open Graph (OG) images for your blog posts, fetching image data from your CMS, and even working with localized content.
Setting Up the Plugin
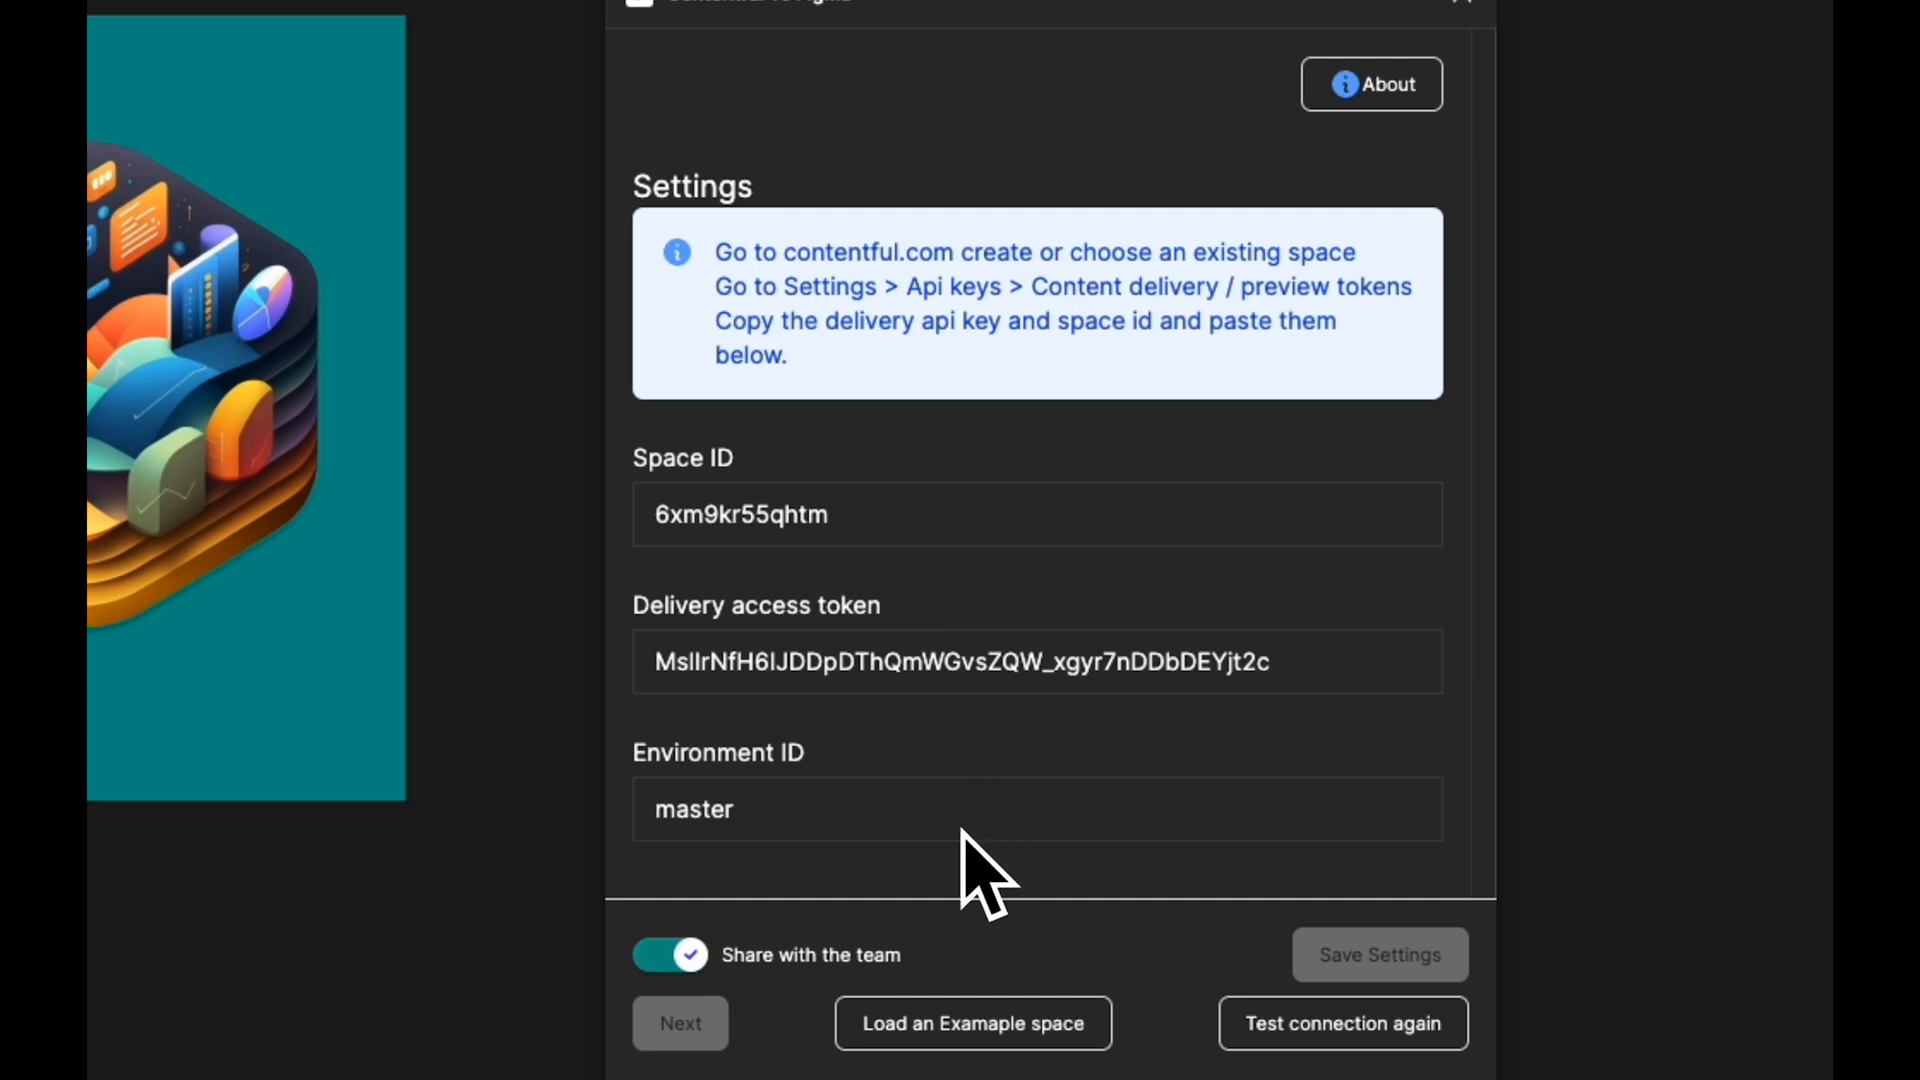 To use the plugin, first, install it in your Figma workspace.
-
Open the plugin by clicking on the plugins tab in the menu.
-
You'll see a settings page where you can input your Contentful API credentials.
-
You can choose to save your credentials locally, or check the box to allow sharing of the credentials across your team members.
-
Once you've entered your credentials, click the "Test Connection" button. You should see a "Successfully connected to Contentful" message.
Generating OG Images for Blog Posts
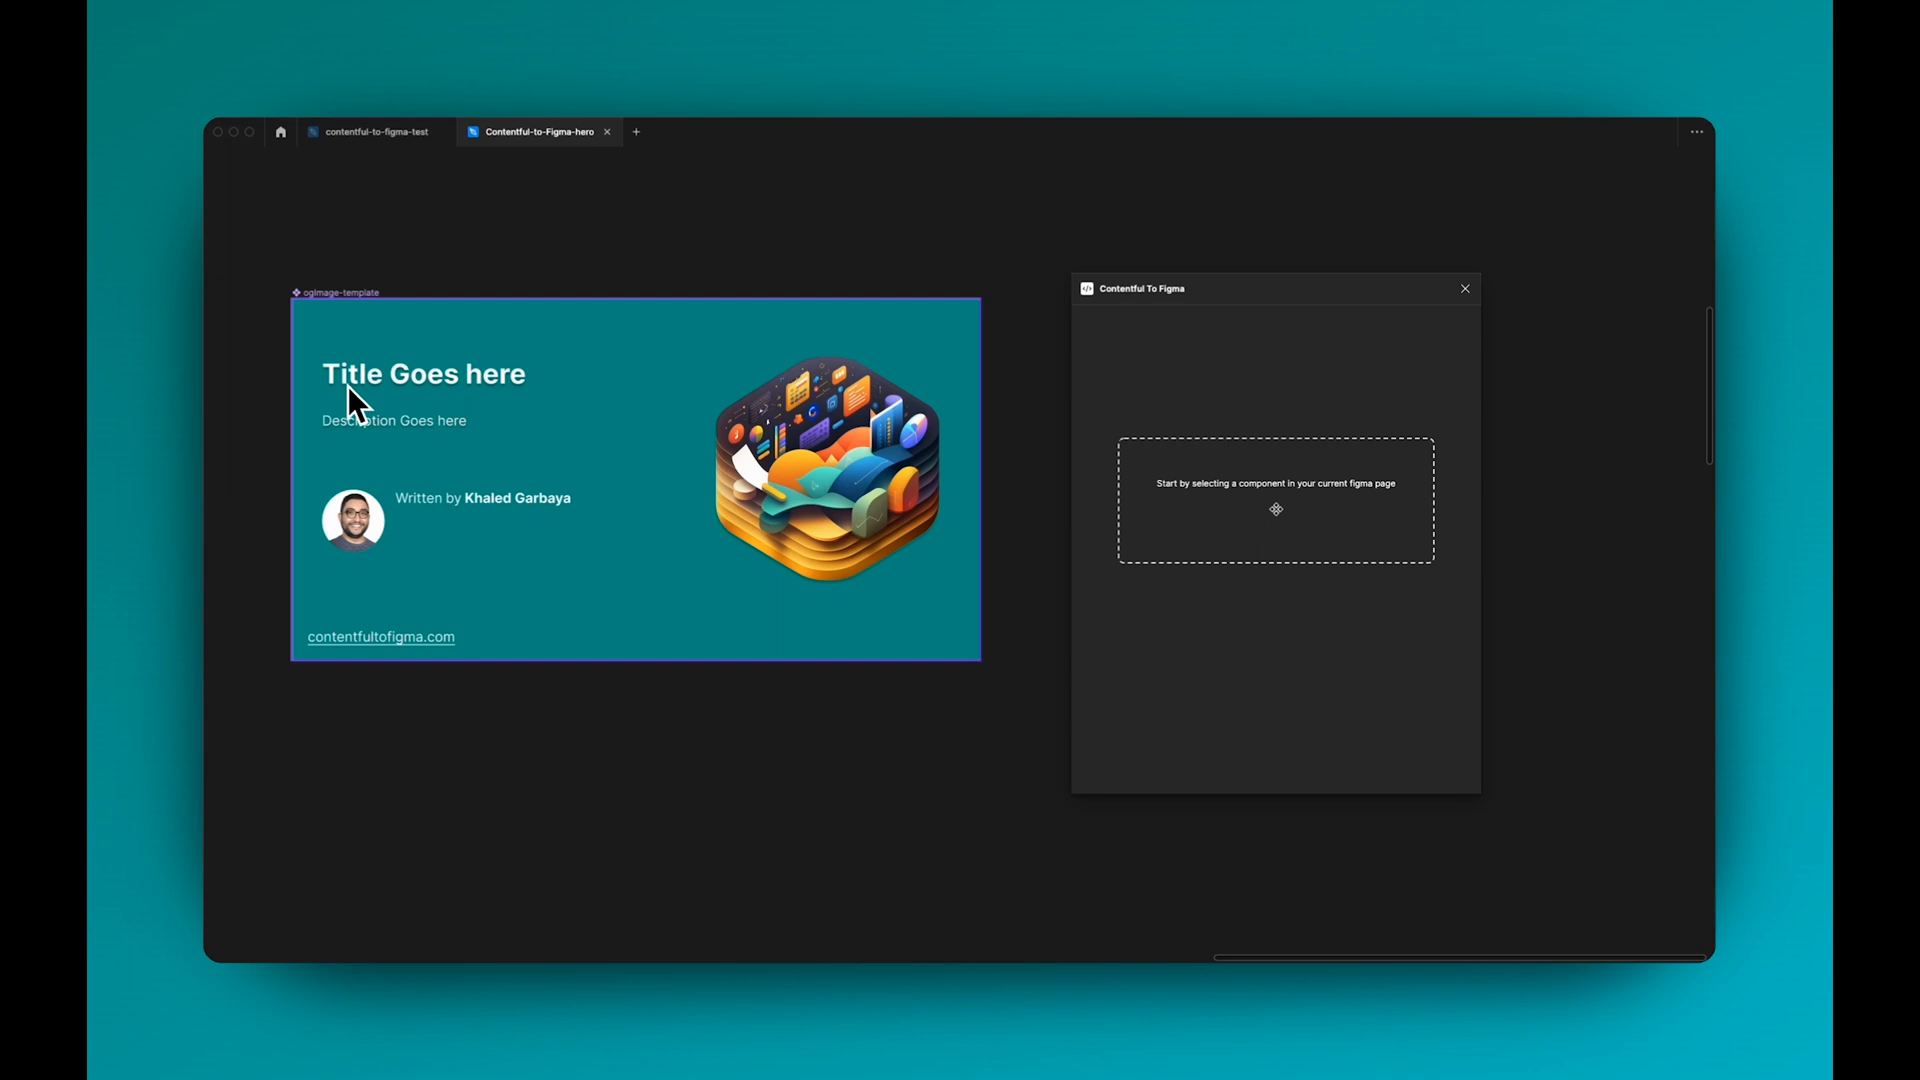 In this example use case, we want to generate OG images with titles and descriptions for each of our blog posts.
To get started:
- Create a
data slotin the plugin - click "Create New" in your Data Slot list. This feature will store your Contentful field mappings and configurations for a specific Figma component. - Select your OG image Figma Template as the main component.
 Give your data slot a name, such as "og-image".
-
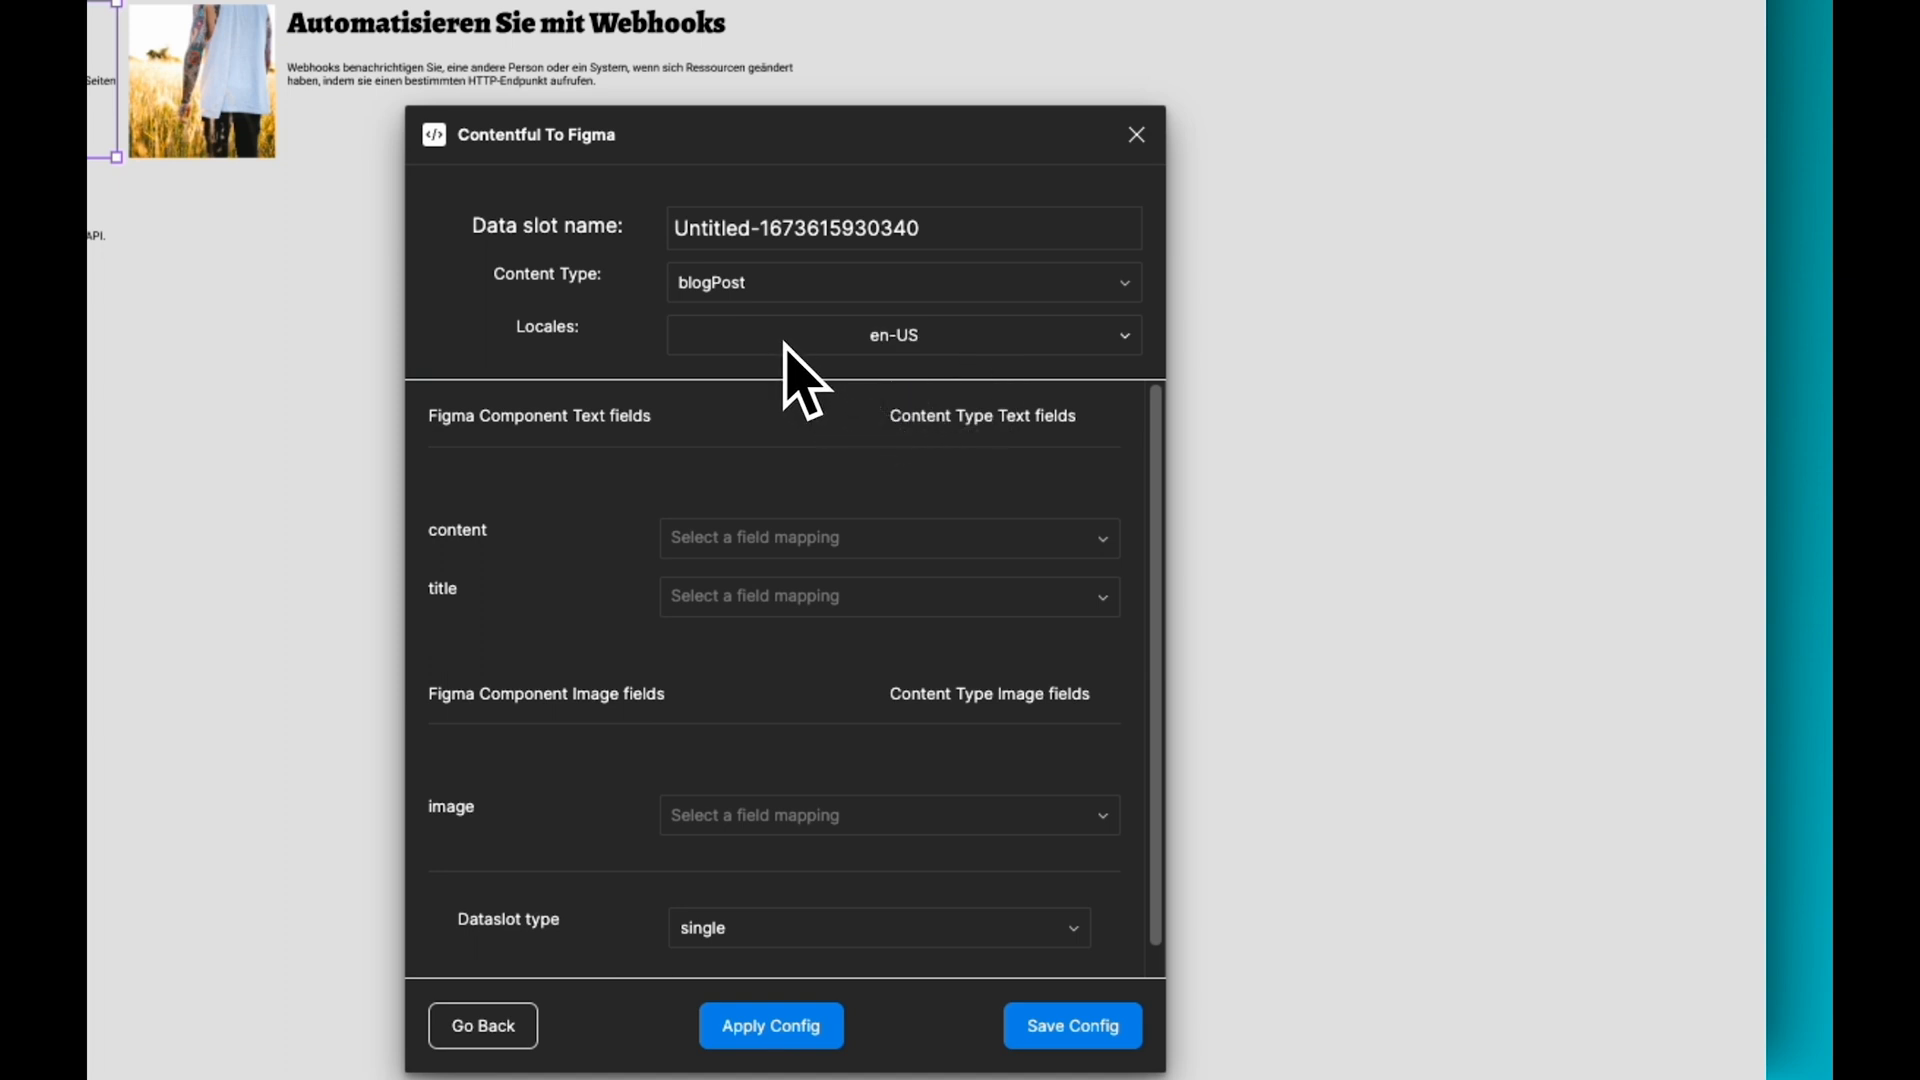
Under "Content Type," you'll see a list of all the available content types from your Contentful project. Choose "Blog Post".
-
The plugin supports localization, so under "Locale," you can choose between your available contentful locales, such as English (US) or German.
-
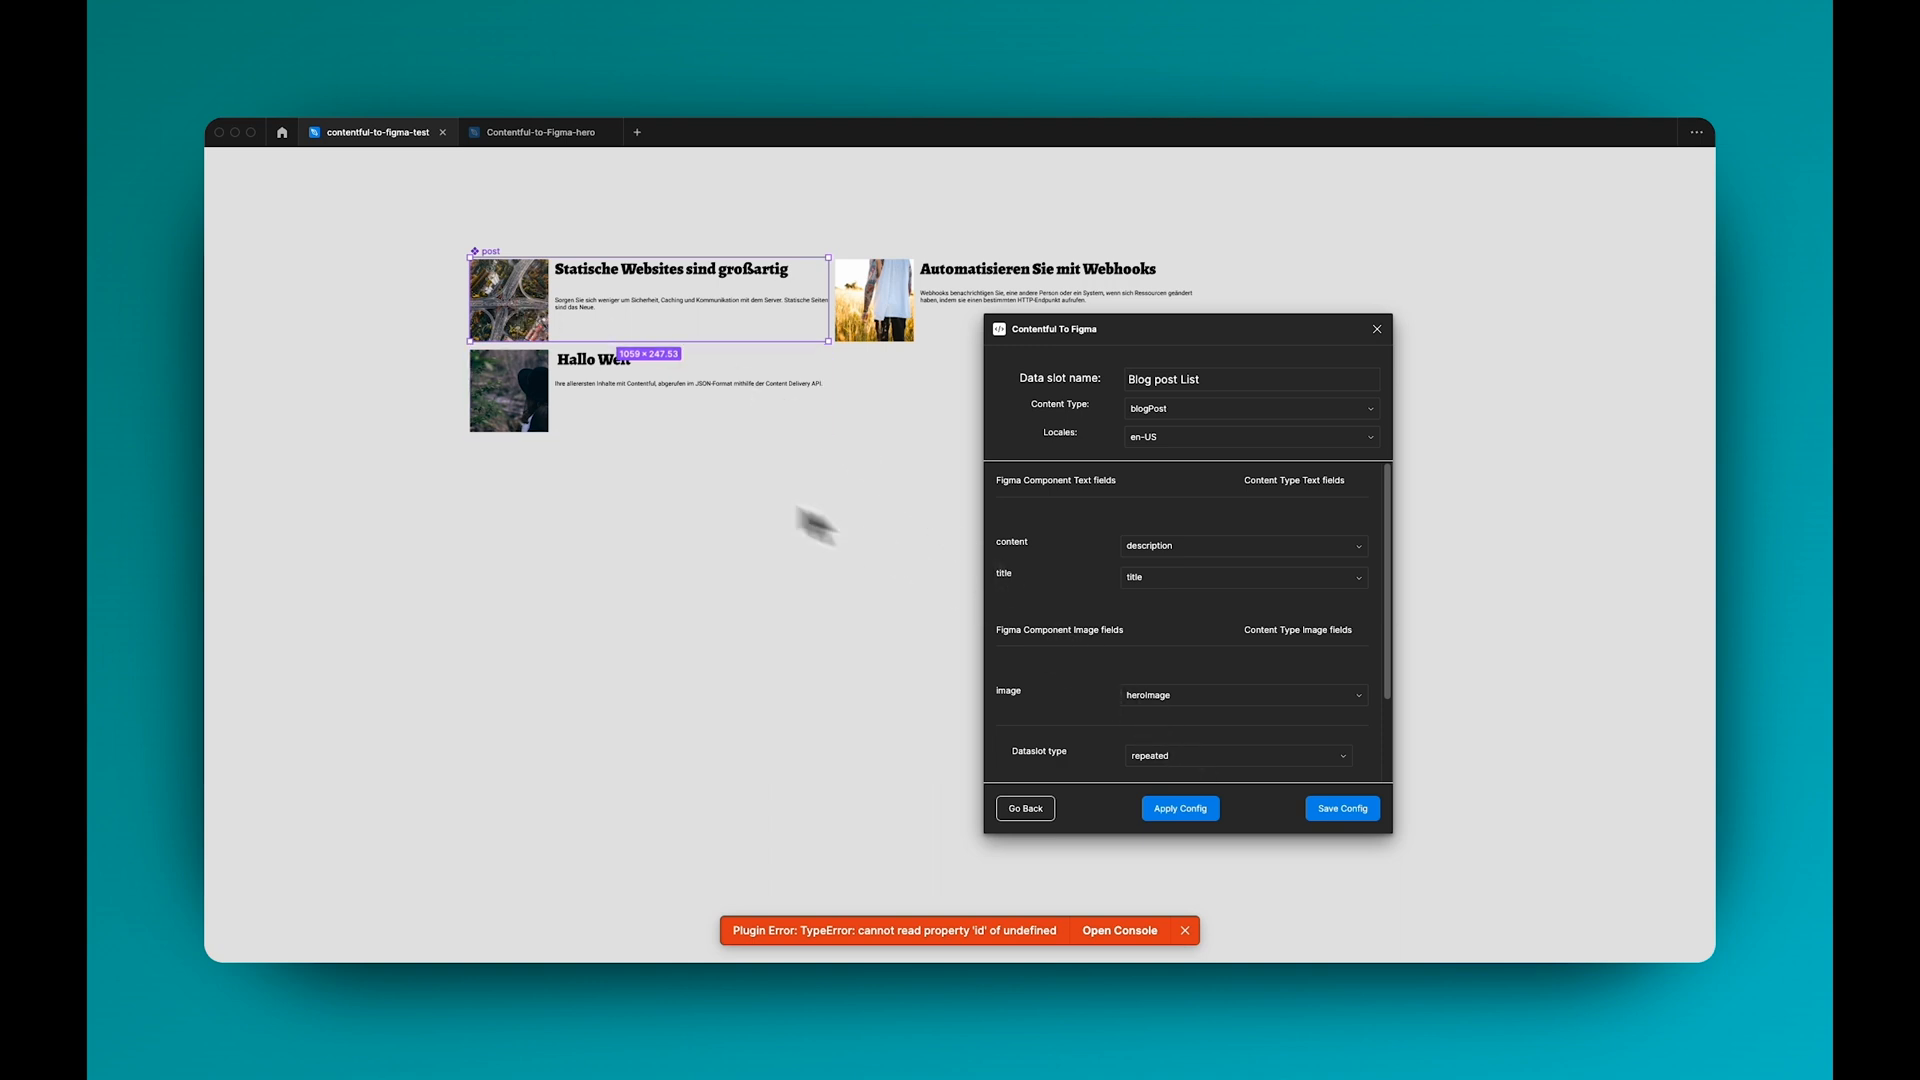
Next, map the fields in your content type to the Figma component's layers. In this example, map the "Title" field to your title layer and the "Description" field to your description layer.
-
Click "Apply Config" to see the OG image generated for one of your blog posts.
Repeating and Grid Layouts
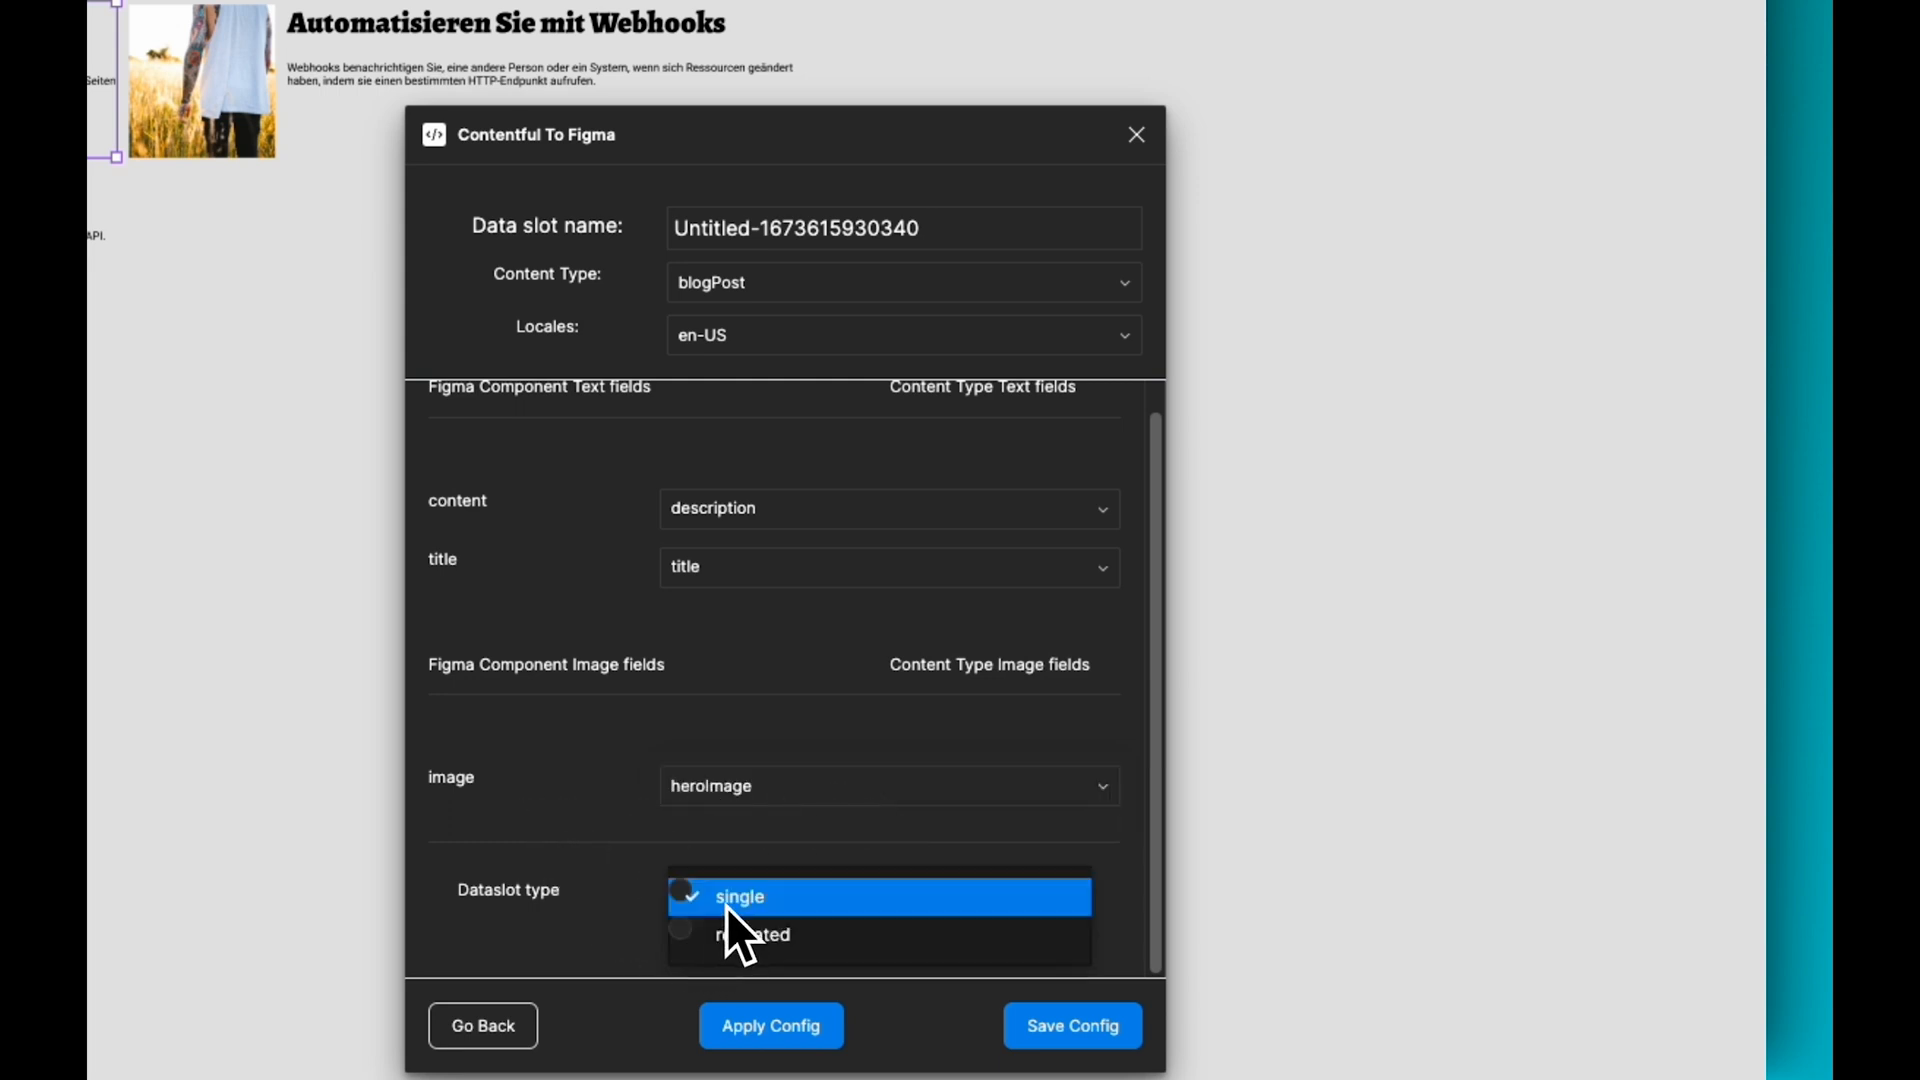 To generate OG images for all blog posts:
- Edit the data slot and set the slot type to "Repeated."
- Choose a grid layout with two columns and two rows.
- Click "Apply Config" to see the OG images generated for each blog post in a grid format.
Working with Localized Content
 To switch between localized versions of your OG images in Contentful:
- Edit your data slot.
- Change the chosen locale to another option, such as German.
- Click "Apply Config" to load the translated data and generate the appropriate OG images.
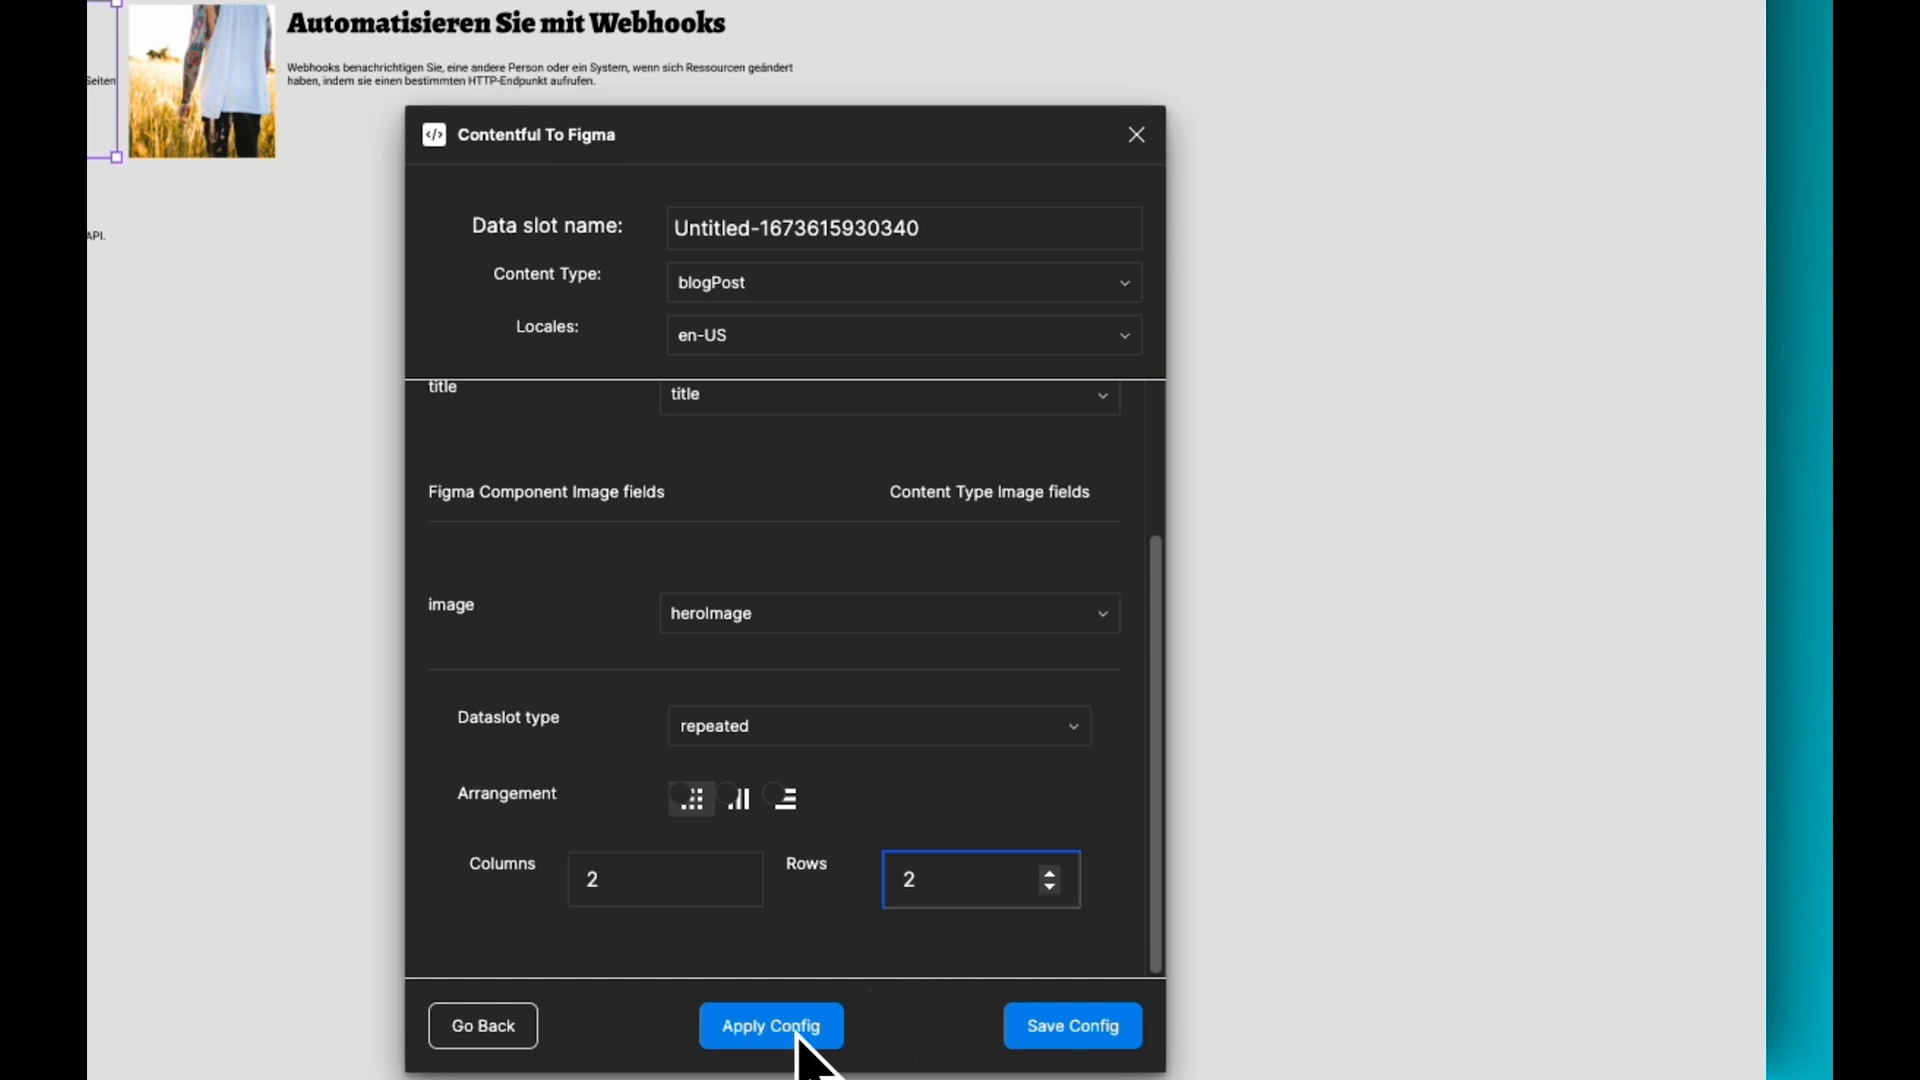 You can save your data slot settings, making it easy to return to the same configuration later. Click the "Save Config" button to store your settings in the data slot list.
Fetching Image Data from Contentful
 The plugin also supports fetching images directly from your Contentful CMS.
To use this feature:
-
Create a new data slot for a Figma component with an image layer.
-
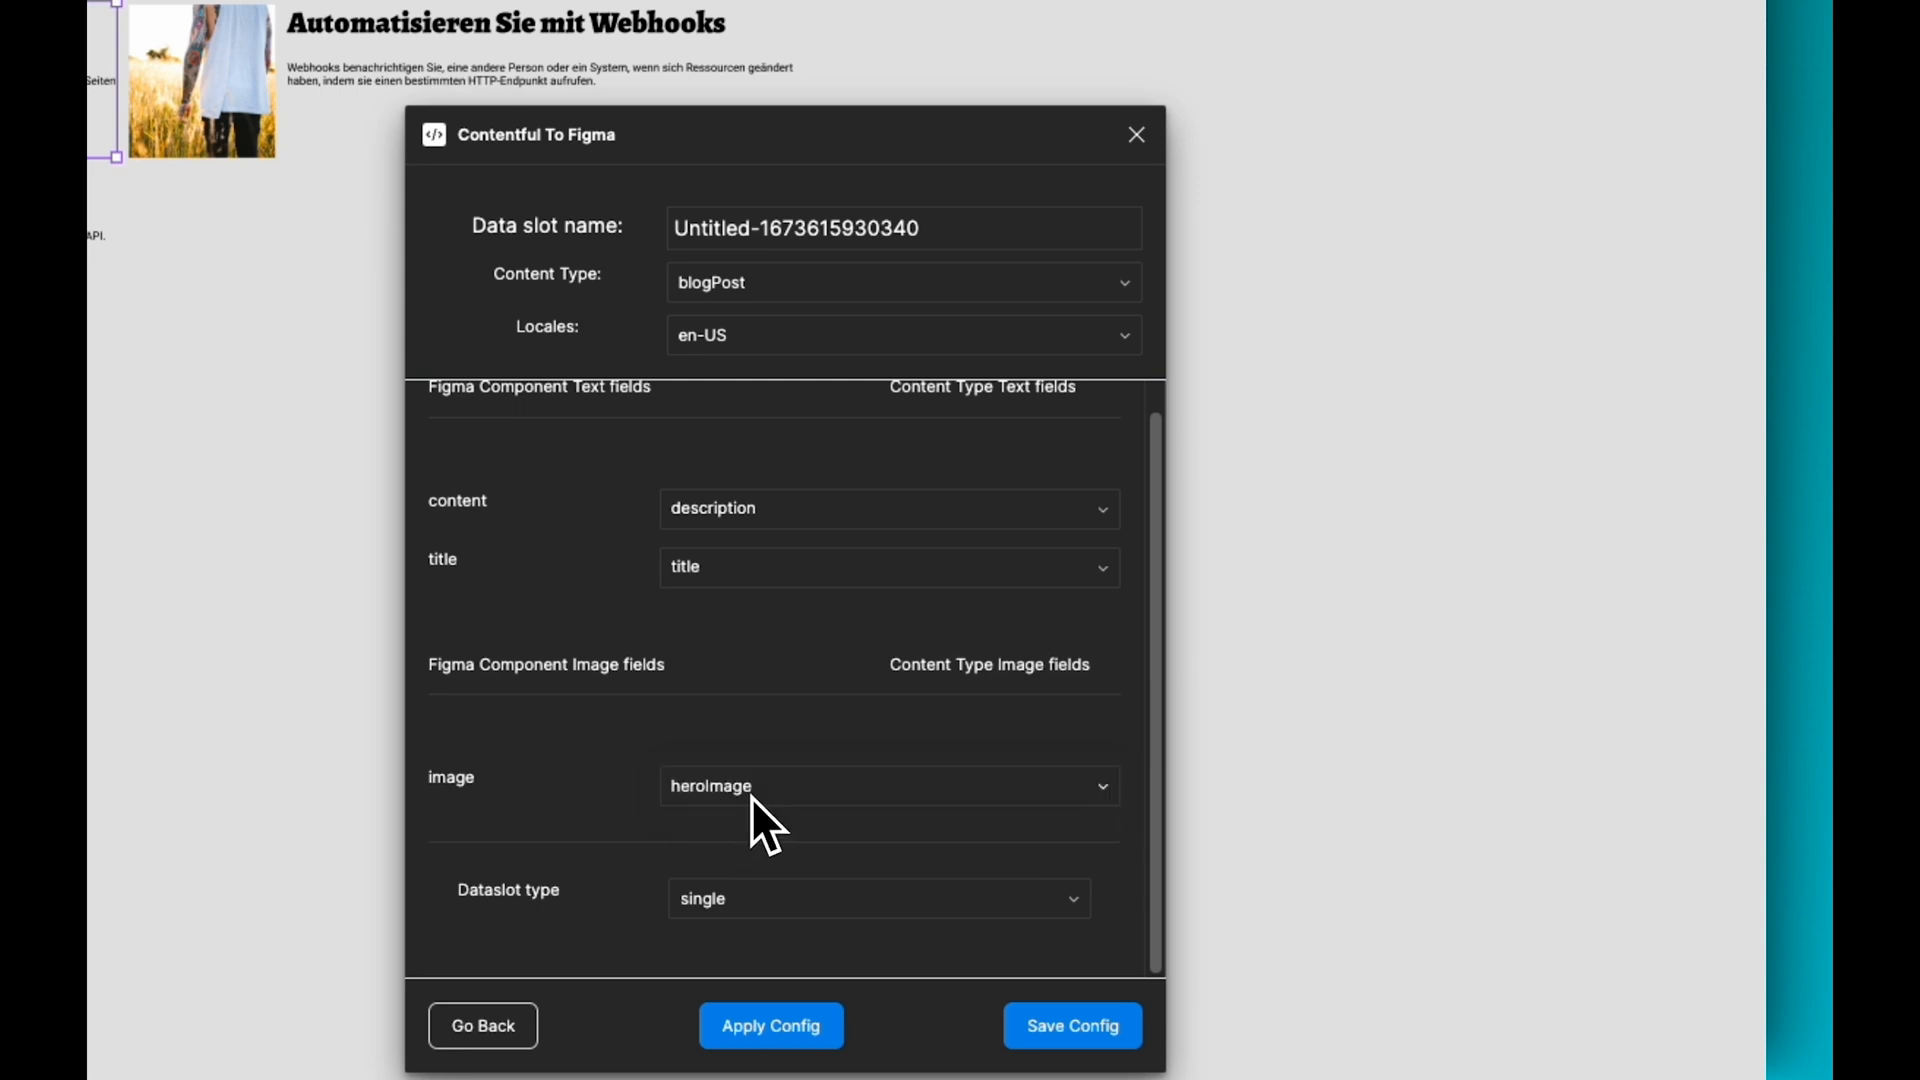
Choose the appropriate content type, such as "Blog Post."
-
Map the Contentful image field (e.g., "Hero Image") to the Figma image layer.
-
Set the data slot type to "Repeated" and choose a grid layout.
-
After applying the configuration, you'll see the images loaded directly from Contentful into your Figma design.
Support for Non-Localized Data
The plugin follows Contentful's fallback behavior for fields that are not localized. For example, if an image field in your content type is not set to be localized, the same image will be used for both the English and German versions.
Sharing Data Slots with Your Team
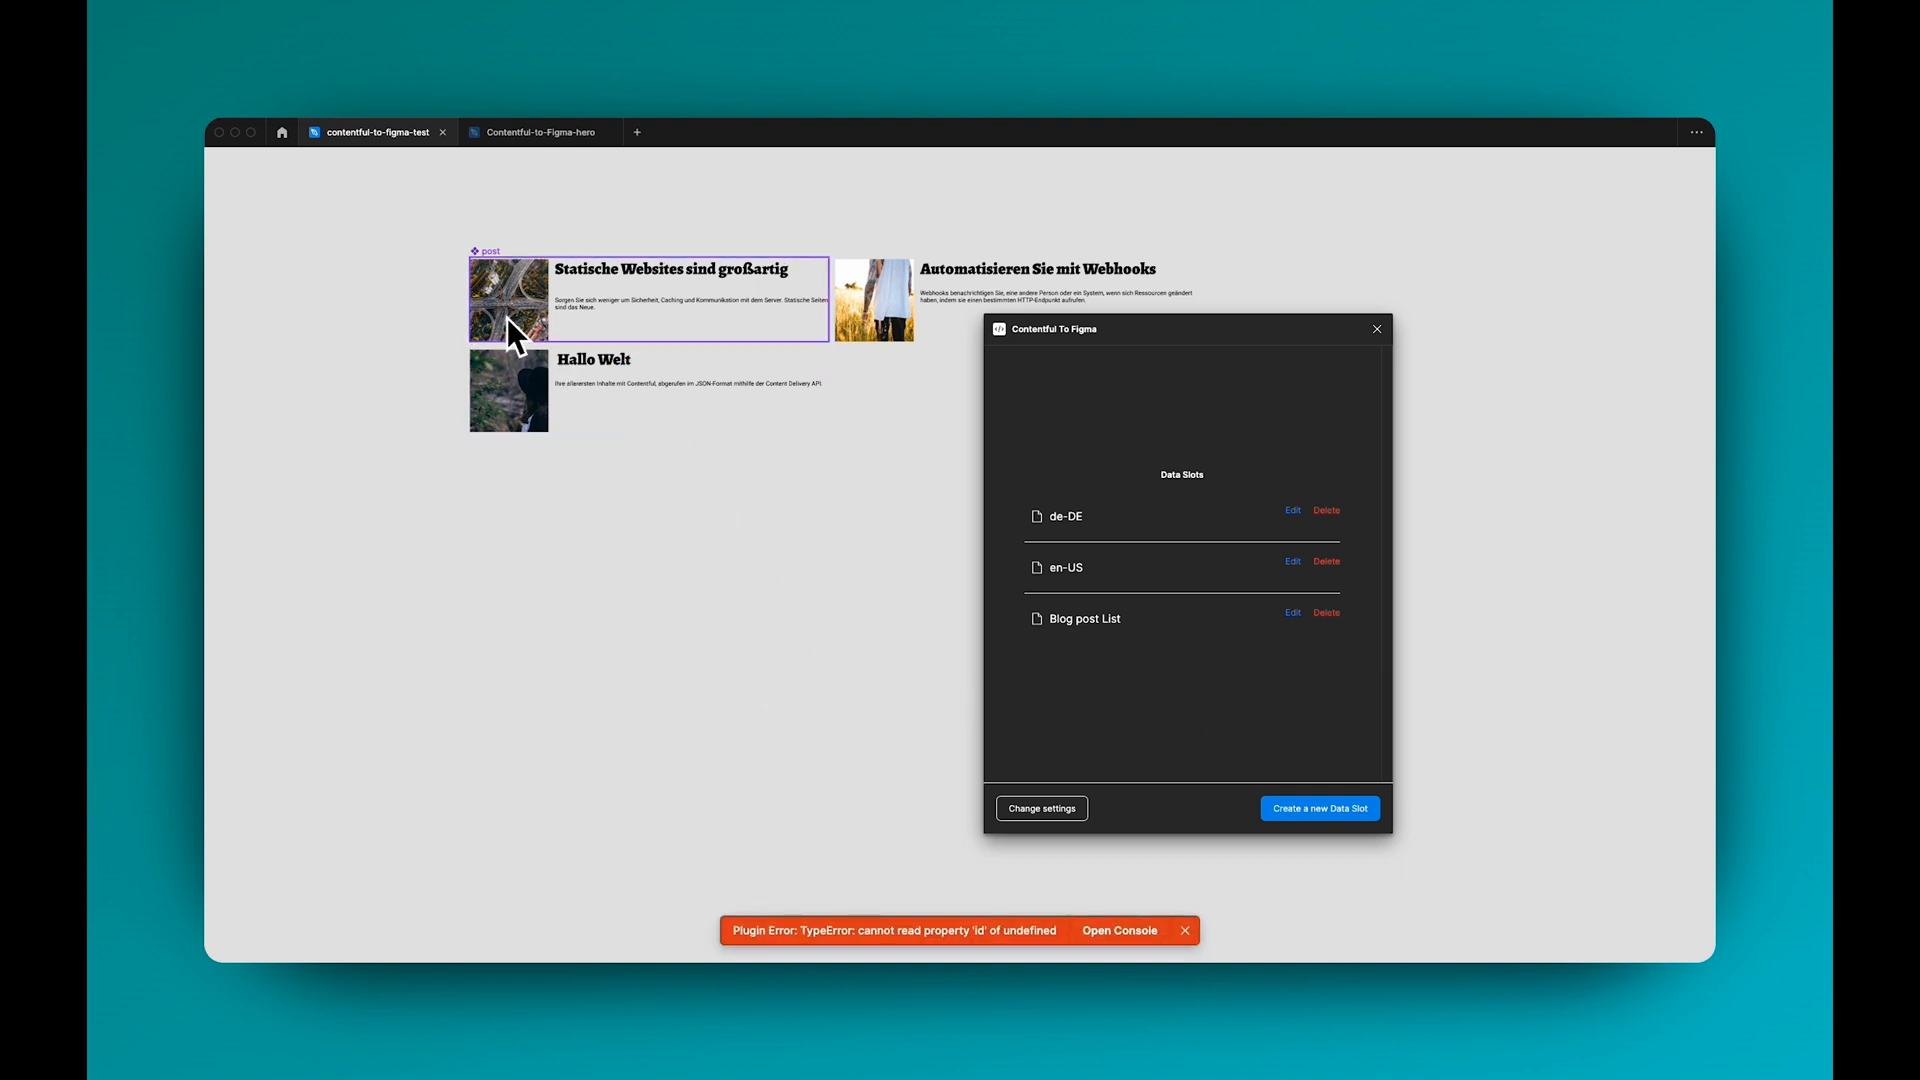 When you save the configurations as data slots, other team members can access and use the same settings. They'll see the data slots you've created when they open the file, allowing them to quickly apply the same configuration to their designs.
 Additionally, the plugin automatically selects the main component for a data slot when editing, making it easy to work with multiple configurations.
Wrapping Up
The Contentful to Figma plugin is an invaluable addition to your design toolkit. It streamlines the process of syncing data between your CMS and your designs, supports localization, and makes it simple to share configurations with your team. Give it a try and let us know what you think!
